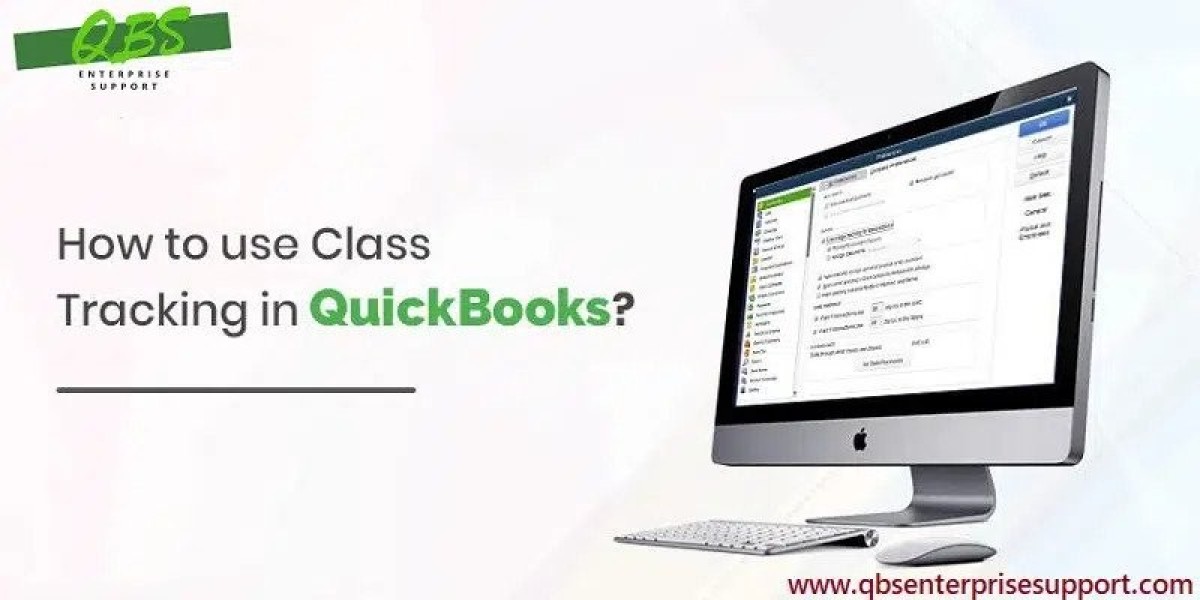
Class tracking is a comprehensive feature in QuickBooks that allows you to track balances for departments, business offices, or business establishments. It helps provide a holistic view of your company's finances and can be used to track specific segments you want to focus on. You can assign classes to transactions in QuickBooks Desktop by configuring the Company Preferences. Let's explore the steps to set up and use class tracking in QuickBooks Desktop.
Steps for Setting Up Class Tracking in QuickBooks
- The initial step is to launch QuickBooks Desktop as an administrator.
- Follow up by clicking on the Edit tab.
- Now, select Preferences within the Edit menu.
- Opt for Accounting and access the Class tracking options.
- Now, go to the Company Preferences option, and herein, opt for the option to Use Class Tracking.
- After that, hit on Ok to save the changes.
- Advance to the Lists menu and choose Class List to set up class categories for costs and accounts.
- In order to create a new class, hit on New.
- Enter the class name and checkmark the Sub-class checkbox if applicable.
- Associate expenses with the class by providing the necessary information.
- Follow up by hitting on Ok to add the class.
- Once all the required information is filled out, the class tracking feature will be activated.


